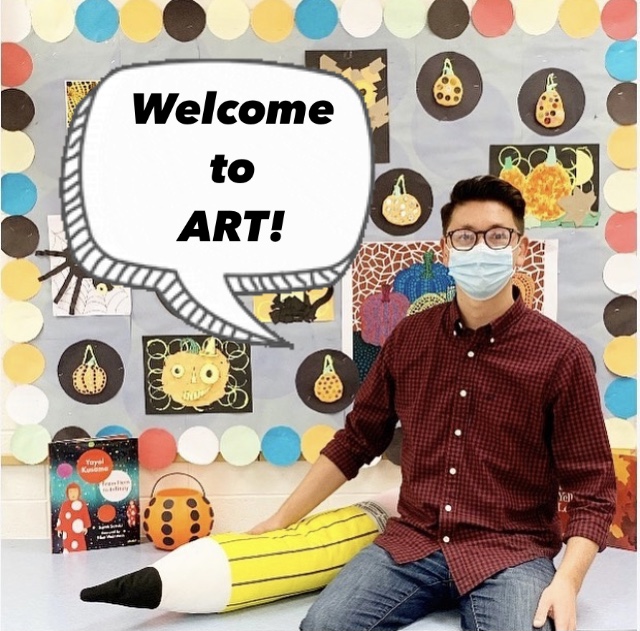
Welcome to Remote Art Class with Mr. Giannetto
2021-2022 School Year
Scroll down to view art projects and resources for Week 1.
Art Lesson: Torn Paper Owlets
Materials: construction paper (choose any colors you wish and have available at home), scissors, markers, glue stick
Five Owl Facts for Kids
1. A baby owl is called an owlet.
2. There are over 200 different kinds of owls. They are different colors and different sizes.
3. Owls have large eyes and a flat face.
4. Owls are active at night. They are nocturnal.
5. Owls eat bugs, small animals, birds, and/or fish.
Step by Step Directions:
1. Draw the Owlet
Draw a large oval for the owl's body. Draw two triangles for ears at the top of the oval. Finally, draw two wings.
2. Rip the Paper
Pick a color you would like to use for the owl's feathers. Cut the paper into strips. Make small snips down the length of the strip. Rip the paper into pieces. Glue the pieces to the drawing to create feathers on the owl. Try to cover the whole owl.
Remember to pat down the pieces so that the owl doesn't lose its feathers!
3. Add Details
Cut out a diamond shape and fold it in half to make an open beak.
Cut out small strips of paper for the legs and toes.
Trace a cup onto paper and cut out the two circles for eyes. Use a marker to draw the pupils.
Glue on all of the pieces.
If you wish you may use a marker to draw the owl details instead of cutting and gluing due to time constraints.
Extend this Art Activity - Optional
Recall the 5 Owl Facts for Kids.
Draw food for your owl to eat.
Make a mom or dad owl to go along with the owlet.
Step 1: Pick a plate and collect an array of objects from your house including small toys, kitchen items, office supplies, and more!
Step 2: Identify parts of the face and sort the items into categories such as eyes, noses, mouths, hair, ears, and such.
Step 3: Create a portrait using the objects. Move the items around to see what works best! Have fun!
Step 4: Take a photo so I can see your creative one-of-a-kind portraits!
Step 5: Return all items where they belong.


No comments:
Post a Comment