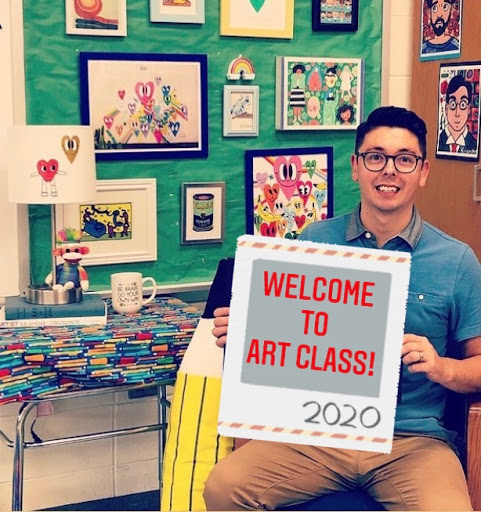
Welcome to Art class at B. Bernice Young School!
I'm your Art Teacher, Mr. Giannetto (Mr. G).
I'm so excited to begin the 2020-2021 school year with you!
Please reach out to me if you have any questions, concerns, or if you need clarification or assistance with any art project. During remote learning you are always welcome to substitute art materials for any given project with supplies you have available to you at home.
Mr. Giannetto's email is vgiannetto@burltwpsch.org
Art Class for Ms. Shaw and Ms. Petrecca
October 26th-30th
Tuesday: Ms. Shaw's Class- I will see all students who are attending school for in-person art class.
Wednesday: Ms. Shaw's class and Ms. Petrecca's class have a Google Meet with Mr. G together. I will demonstrate making the line roll coaster. Please review the materials below and have them available to use on our Google Meet. I understand that some students in Ms. Petrecca's class may have completed the Line Roller Coaster with Mr. G a few weeks ago. During our Wednesday Google Meet I will give you additional ideas to vary this assignment.
Thursday: Ms. Petrecca's Class- I will see all students who are attending school for in-person art class.
Everyday this Week: Feel free to visit our Google Art Classroom, view the art assignment, and click the link to travel here to my art website and work independently on this Line Roller Coaster. I will also include optional art activities for remote learning. Scroll down to view Additional Art Activities for Remote Learners. Also, in our Google Art Classroom I have a recorded video of Mr G reading a roller coaster book with a directed drawing activity for you to complete independently.
1st Grade Art: Line Roller Coaster
Materials: construction paper (choose any colors you wish and have available at home), scissors, glue, crayons
Types of Lines:
Step by Step Directions:
Step 1: Cut long strips of colorful paper. These will be the tracks for your roller coaster. Fold up both ends of each strip to make feet for the tracks. These feet will be helpful when we glue down the tracks.


Step 2: Begin to build your roller coaster by gluing down the strips to the paper. Create a variety of lines including straight, zip-zag, curved, spiral, diagonal, and loops. Be sure to put glue on the feet of each strip to secure it into place. Please hold it down for 10 seconds so that it stays in place.


Step 3. Draw cars to add to the roller coaster. Be sure to add the dotted lines coming down from the wheels.

Step 4: Color the cars and cut them out. Fold the dotted lines back behind the wheels and put glue on the bottom. Attach the car to the track.

Additional Art Activities for Remote Learners:
1. Name your roller coaster.
2. Identify the different types of lines in your roller coaster.
3. How fast does your roller coaster go?
4. Would you ride your roller coaster?
5. Draw, color, cut, and glue additional cars to your roller coaster.
Make a Paper Owl
Materials: paper, scissors, glue, crayons, markers
Step 1: Cut out a circle.
Step 2: Fold in the right and left sides of the circle to make the owl's wings.
Step 3: Fold down the top of the circle to make the owl's head.
Step 4: Cut out a variety of details such as eyes, a beak, feet, and feathers. Glue all of the pieces onto the owl.
Art Challenge: Teach a family member how to make the paper owl.
STEAM Learning - Build a City
STEAM (Science, Technology, Engineering, Art, and Math) exploration boosts the development of critical thinking skills, problem solving skills, hands-on learning, and creative thinking.
What types of buildings will be in your city? Maybe a skyscraper and a car garage? How many floors will your building have? How tall will your building stand? Is your building sturdy and strong?
Challenge: Build a city using materials you can find in your home. One building needs to be able to hold the weight of a small toy figure or toy car.
Materials: Use what you have around the house such as blocks, books, paper cups, styrofoam, tooth picks, k cups, index cards, cardboard, coasters, and more. Use small toy figures or toy cars to complete the challenge.
Step 1: Gather your building supplies and small toys. Find a flat surface to build on such as a kitchen floor, table, or big books.
Step 2: Begin to build by placing 4 foundation pieces at the bottom and put a piece of paper, cardboard or other flat material on top to create the floor. Experiment with other building techniques as you go.
Step 3: Keep stacking higher and higher! Oh no! My building fell! That’s okay! Try again!
Step 4: Add small toy figures to your building. Yikes! The building collapsed! That’s okay! Learn as you go! Is there a stronger material you can use to support the toy?
Step 5: Play with your city.
Step 6: Put back all of the building supplies where they belong.


Being that King did this project, it is safe to say we can mark it as done.
ReplyDeleteYes. Thank you!
ReplyDelete